This is the most common form of vehicle wiring. The majority of light-duty trailers will use 4-pin wiring. This special harness works with most utility and boat trailers.
There are two parts to getting this car to work properly. One is replacing the brake light bulbs. The other wire in the wiring diagram is for grounding. To get the electrical installation completed, you need to match the colors, connect the ground wire, and connect it to the structure frame.
Installing the trailer requires you to perform some installation steps from the vehicle’s side and others from the trailer’s side. Check the connection before you get going so you don’t have to fix it later. We’ll take a closer look at what the wiring is like.
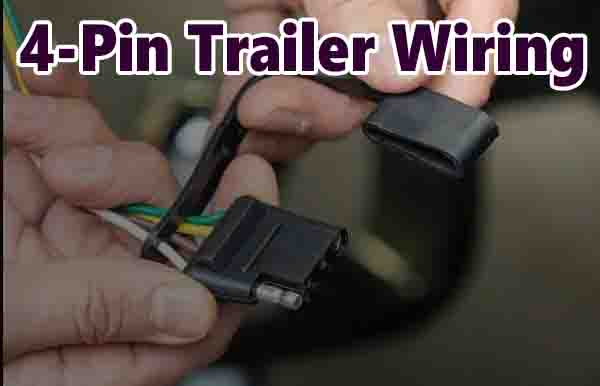
Table of Contents
4-Way Trailing Wiring Color Codes
Before you get started with the installation, you should understand that every color represents a different function. While the codes may vary slightly between the manufacturers, most of them use the same generic options. Make sure to double-check the instructions before you install the item.
How to Install 4-Pin Trailer Wiring
1. Gather Supplies
You’ll be ready to get started when you have the supplies. We recommend using a trailer lighting kit so that you have everything you need to create great images.
If you are only replacing a few parts of the wiring and connectors, make sure you’re in the habit of checking your equipment’s condition. Figure out what parts need to be replaced and what can stay.
2. Connect Ground
The ground wire needs to be connected to a bare, clean portion of the trailer frame. You need a ring terminal and self-tapping screws for the connection.
Choose a location that doesn’t have any contamination, corrosion, or paint. If you want to, clean it off first. There is only one ground wire running for the entire electrical system. The circuit breaker’s job is to ground every appliance, light, or feature in your home’s electrical system.
3. Run Wires
This trailer needs a lot of work, so you need to take the remaining wires and connect them to the trailer lights.
Make sure you are careful of the wires while setting up your motorcycle. The wire could get tangled or caught with the components of the bike. You’d want to run the wires for the hollow parts of the frame. If necessary, you can drill a hole through the frame for the screws. When working with loose wires, zip ties and wire clips are also helpful.
4. Install Vehicle Side Wiring
Before the trailer is connected, it’s time to focus on the vehicle. If your car is equipped with a 4-way connector, you are ready to roll. You can attach the trailer to the vehicle and start towing.
It doesn’t take much work to add a four-way connector to your vehicle. The type of connector you use will depend on your vehicle’s make and model.
5. Connect Trailer with Vehicle
You’ve connected all the wires, which means it’s time to connect the wires to the car. With your crimper, you can strip the insulation from the wires, making it easier to connect the wires in the next step.
If you have a working installation with lights, you can use a Y (wishbone) harness or heat gun to join the wires together. On the driver’s side of the trailer is a side with two sides. One side is on the back of the trailer and the other is on the side.
Attach the grounding wire to the metal frame of the electric fence using the included screws. You can prevent corrosion by using the right types of electrical tape. The wiring harness will plug or clamp onto the lighting features of the vehicle. You should never route the electrical cable from the electrical harness to the battery of your vehicle. If you do, the lights won’t stay on all the time.
6. Test Connection
As far as I know, there is no other solution than to actually test the connections. A friend can help you activate all of the lights, making sure they work before you take the trailer out on the road. Otherwise, you could get into trouble and get pulled over by a cop.
Cost of Installing 4-Pin Trailer Wiring
You might spend up to $300 for the wiring supplies. Installation is the hardest part of the installation, so if you can do it yourself, you’ll save money on the If you have basic mechanical skills, it might take you about three hours to connect the trailer wiring. To be successful, you have to do it yourself.
FAQs
The four colors found on a 4-pin trailer wiring are white (ground), brown (tail/running lights), yellow (left turn/brake lights), and green (right turn/brake lights).
Your car lights will not work if the lights are not connected to the car ground. This is a good idea, because when you’re not using the lights, they don’t drain the battery.
A multimeter is the best tool for testing your car’s 4-pin trailer connector. To check the lights on a four pin trailer, you can either power and ground the trailer through the trailer connector and work from a diagram, or you can hook the trailer up to your vehicle and check.
To connect a 4-pin trailer connector to a 7-pin connector, you first need to find a wiring diagram for both connectors and then get a multimeter. Then just plug in the wires that match the pins of the other connector, and then you can measure to make sure the wiring is correct.